Deploy Sysdig Secure Automated Image Scanner for Fargate
To deploy the Sysdig image scanner for Fargate, we’ll again use Amazon CloudFormation. The procedure is identical to how we installed Amazon ECR Integration in the previous lab, so this time we’ll use the AWS CLI instead.
Note You can find instructions on using the CLI on the Sysdig Fargate scanning installation page
Let’s set our CloudFormation template URL as an environment variable to simplify the actual
awscommand.CFURI=https://cf-templates-secure-scanning-ecs.s3.amazonaws.com/ecs-image-scanning.templateConfigure your Secure API Token and Secure API Endpoint as environment variables.
SecureAPIToken=<YOUR_API_TOKEN>
SecureEndpoint=<YOUR_API_ENDPOINT>
You should have made a note of these environment variables when setting up your Sysdig Trial Account.
Make sure your Sysdig
CFURI,SecureAPITokenandSecureEndpointenvironment variables are set correctly.echo $SecureAPIToken echo $SecureEndpoint echo $CFURIThen run the the following AWS CloudFormation command (which uses those environment parameters)
aws cloudformation create-stack \
--stack-name ECSImageScanning \
--template-body $CFURI \
--parameters ParameterKey=ECSInlineSecureAPIToken,ParameterValue=$SecureAPIToken  ParameterKey=ECSInlineSecureEndpoint,ParameterValue=$SecureEndpoint ParameterKey=ECSInlineScanningType,ParameterValue=Inline \
--capabilities "CAPABILITY_NAMED_IAM"
You can check the status of the CloudFormation task by browsing to the CloudFormation UI
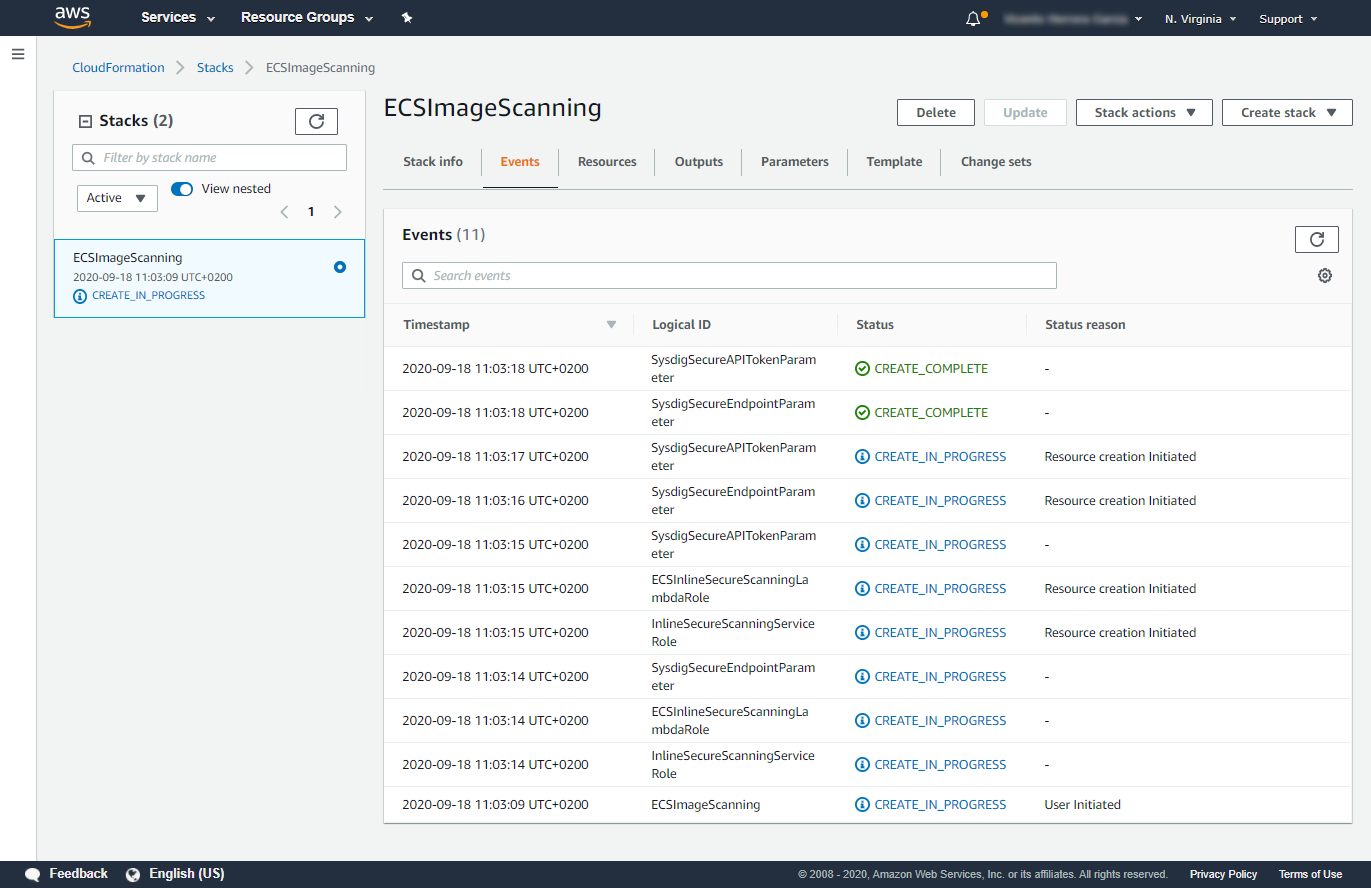
Wait until the CloudFormation task completes, which may take several minutes.
Once all stacks are created, you will be ready to deploy our ECS tasks in a Fargate cluster securely, as all images will be scanned automatically. In the next steps we will see this scanning as it happens.